m (Text on the charts is virtually invisible with Monobook skins that have bright font colors.) Tag: sourceedit |
m (Added Japanese) Tag: sourceedit |
||
| Line 1: | Line 1: | ||
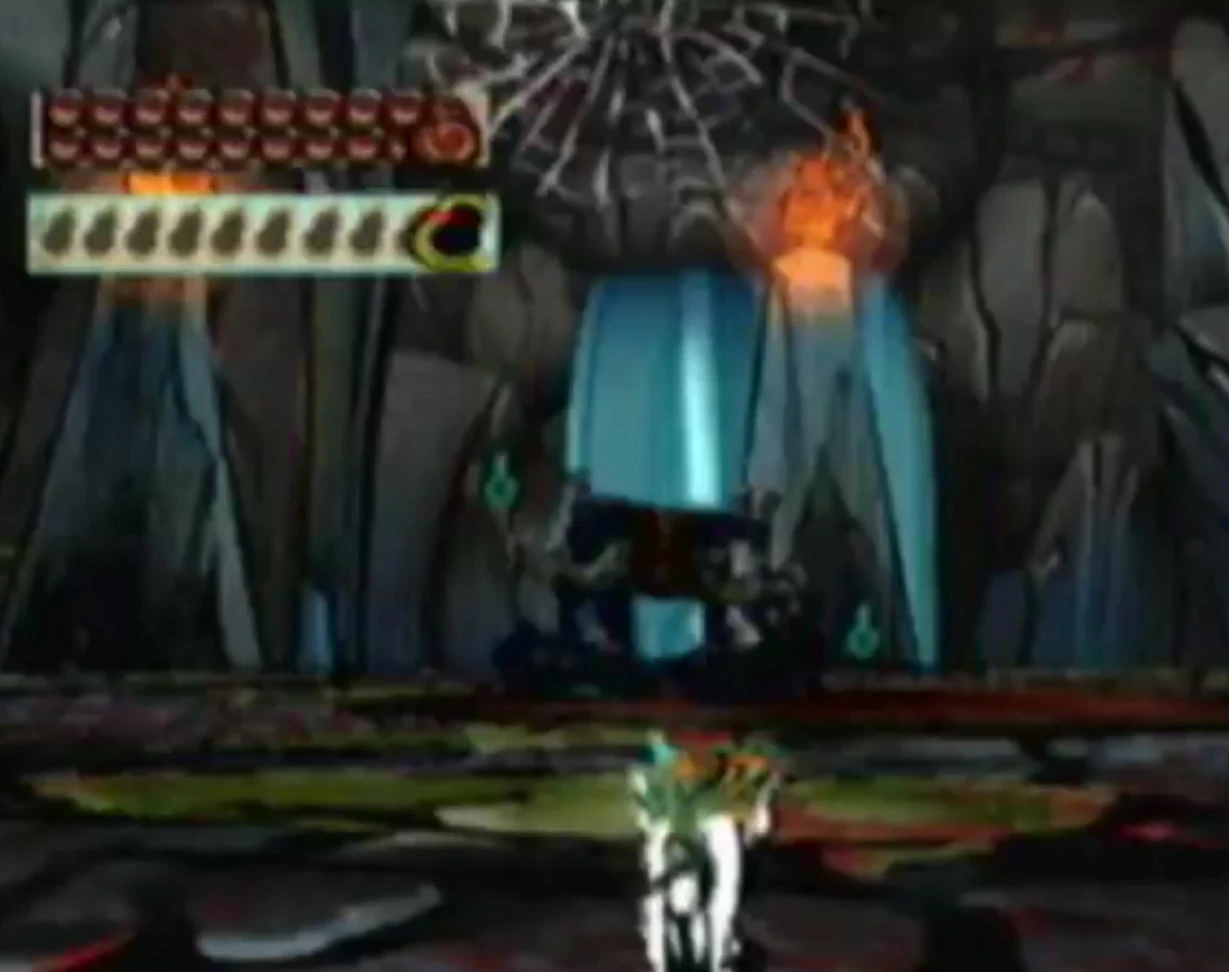
| − | {{Project improve ad}}[[File:Trial cave.jpg|thumb|250px]]The '''Devil gate trial caves''' are three optional sidequests. The {{dl|Dojo Techniques|Digging Champ}} dojo technique (learned in the [[Ryoshima Coast]] dojo) is required to open up all three of these areas. Upon first entering each of these underground arenas, [[Amaterasu]] must fight a [[Bandit Spider]]. This yields a chest with a [[Sun Fragment]] inside. If a certain story event has already been cleared, then a [[Devil gate]] may also materialize nearby; otherwise, the gate will not appear until a later visit. |
+ | {{Project improve ad}}[[File:Trial cave.jpg|thumb|250px]]The '''Devil gate trial caves''' {{nihongo|羅城門百鬼夜行||demonic castle gate, hundred demon night travel}} are three optional sidequests. The {{dl|Dojo Techniques|Digging Champ}} dojo technique (learned in the [[Ryoshima Coast]] dojo) is required to open up all three of these areas. Upon first entering each of these underground arenas, [[Amaterasu]] must fight a [[Bandit Spider]]. This yields a chest with a [[Sun Fragment]] inside. If a certain story event has already been cleared, then a [[Devil gate]] may also materialize nearby; otherwise, the gate will not appear until a later visit. |
==Overview== |
==Overview== |
||
| − | Like the Devil gates in other locations, entering the doorway will begin an intense battle. However, the enemies found in the Devil gate trial caves can withstand and inflict more damage than their regular counterparts, and they also appear in much greater numbers than in regular Devil Gates or [[Demon Scroll]] |
+ | Like the Devil gates in other locations, entering the doorway will begin an intense battle. However, the enemies found in the Devil gate trial caves can withstand and inflict more damage than their regular counterparts, and they also appear in much greater numbers than in regular Devil Gates or [[Demon Scroll|Demon Scrolls]]. Furthermore, the area will not be immediately cleared by a single battle; instead, each "trial" consists of ten successive gates, each with its own increasingly formidable set of opponents. Although Amaterasu can rest inside the cave after each gate battle, all ten gates must be cleared in the same visit; if she returns to the surface and comes back again, the gate sequence will start all over again from the first one. |
The Devil gate trials are very challenging for the unprepared player, but the rewards make them worthwhile. The battles can be used for [[farming]], as they yield a huge quantity [[Yen]], [[Items]], [[Demon Fang]]s, combat experience for [[Issun]] with the [[Thief's Glove]], and so on. After clearing all ten gates in an area, a [[Stray Beads|Stray Bead]] will be rewarded. Afterwards, Amaterasu may return again at any time to repeat all ten gates from the beginning for more treasure and experience; another Golden Peach will appear by itself (not in a chest) inside the combat arena after the end of the tenth round, but must be picked up before the arena dissolves. Should Amaterasu fails to get the Golden Peach, then if she returns to the cave, the Devil gate trial will have reset (Though she won't get an extra Stray Bead) and she will have the chance to collect the Golden Peach at the end of them again. This can be used as a way to gather a lot of Yen. |
The Devil gate trials are very challenging for the unprepared player, but the rewards make them worthwhile. The battles can be used for [[farming]], as they yield a huge quantity [[Yen]], [[Items]], [[Demon Fang]]s, combat experience for [[Issun]] with the [[Thief's Glove]], and so on. After clearing all ten gates in an area, a [[Stray Beads|Stray Bead]] will be rewarded. Afterwards, Amaterasu may return again at any time to repeat all ten gates from the beginning for more treasure and experience; another Golden Peach will appear by itself (not in a chest) inside the combat arena after the end of the tenth round, but must be picked up before the arena dissolves. Should Amaterasu fails to get the Golden Peach, then if she returns to the cave, the Devil gate trial will have reset (Though she won't get an extra Stray Bead) and she will have the chance to collect the Golden Peach at the end of them again. This can be used as a way to gather a lot of Yen. |
||
Revision as of 06:48, 4 October 2016
Template:Project improve ad
The Devil gate trial caves (「羅城門百鬼夜行」?; demonic castle gate, hundred demon night travel) are three optional sidequests. The Template:Dl dojo technique (learned in the Ryoshima Coast dojo) is required to open up all three of these areas. Upon first entering each of these underground arenas, Amaterasu must fight a Bandit Spider. This yields a chest with a Sun Fragment inside. If a certain story event has already been cleared, then a Devil gate may also materialize nearby; otherwise, the gate will not appear until a later visit.
Overview
Like the Devil gates in other locations, entering the doorway will begin an intense battle. However, the enemies found in the Devil gate trial caves can withstand and inflict more damage than their regular counterparts, and they also appear in much greater numbers than in regular Devil Gates or Demon Scrolls. Furthermore, the area will not be immediately cleared by a single battle; instead, each "trial" consists of ten successive gates, each with its own increasingly formidable set of opponents. Although Amaterasu can rest inside the cave after each gate battle, all ten gates must be cleared in the same visit; if she returns to the surface and comes back again, the gate sequence will start all over again from the first one.
The Devil gate trials are very challenging for the unprepared player, but the rewards make them worthwhile. The battles can be used for farming, as they yield a huge quantity Yen, Items, Demon Fangs, combat experience for Issun with the Thief's Glove, and so on. After clearing all ten gates in an area, a Stray Bead will be rewarded. Afterwards, Amaterasu may return again at any time to repeat all ten gates from the beginning for more treasure and experience; another Golden Peach will appear by itself (not in a chest) inside the combat arena after the end of the tenth round, but must be picked up before the arena dissolves. Should Amaterasu fails to get the Golden Peach, then if she returns to the cave, the Devil gate trial will have reset (Though she won't get an extra Stray Bead) and she will have the chance to collect the Golden Peach at the end of them again. This can be used as a way to gather a lot of Yen.
The three Devil gate trial caves are found in the following locations. Note once again that though the Bandit Spiders can be defeated immediately after entering the cavern, the Devil Gates will notappear until a certain point in the story; if they do not appear at first, go back upstairs to progress the main story, then come back down every so often for a recheck.
- Ryoshima Coast: On the way to the cave leading to the Guardian Sapling, there is a hard-dig spot in an alcove to the left, near some cows. (The alcove is off-limits as a cursed area until the sapling is revived.) After fighting all of the "forced" fights in this region (where new demon types are introduced), the Devil gate trials will be open.
- North Ryoshima Coast: Located on the middle island of the three western ones. The Devil gate trials open up after clearing Oni Island.
- Kamui: - Found behind a frozen waterfall, destructible with Cherry Bomb, below the path to Wep'keer. The Devil gate trials will be open after defeating Lechku & Nechku in the Wawku Shrine.
Devil gate trial charts
Below is a comprehensive guide to exactly which foes lie in wait as the ten devil gates are cleared in succession, as well as how much money will be obtained from each fight, and in total. If Amaterasu takes no damage and defeat her foes quickly, she will earn double the amount of money given by the enemies as a bonus - just like any other fight, but remember these fights can give her a great amount of money. Here are several tips to reduce and recover the amount of damage taken, and to obtain the maximum amount of Yen.
- Retain Godhood. Amaterasu cannot take damage if it is present, but also avoid attacks at all cost, only resorting to being hit in situations when otherwise is impossible.
- Use Veil of Mist. Slowing down time means more damage can be dealt, run around to a demon's weak spot, and avoid attacks. For tougher fights, use an Inkfinity Stone and use Veil of Mist non-stop.
- Bring many Vengeance Slips, and use them when Amaterasu's godhood runs low. The extra money will cover the cost, especially in the Kamui Devil gate trial cave.
- Area-effect attacks, such as Rosaries', Template:Dl, or some of the secret Celestial Brush techniques can save time and increase the Yen bonus by damaging multiple enemies simultaneously. However, be careful in choice of the element of the area attacks, as being surrounded by multiple Great Tengu or Blue Cyclops in "chaos mode" can be catastrophic.
- Equip the Wood Mat in-between battles and use it (by leaving the controller alone and let Amaterasu lying down to sleep as flowers grow around her) in order to recover Solar Energy without needing to use Holy Bones, in case of incurring damage. Yen will be depleted as she recovers energy, but it would not matter, because this cost is covered by the money obtained from the fights.
- Bring many Steel Fist Sake. The enemies in the Devil gate trials have much more stamina than ordinary demons, and finishing them off as quickly as possible is imperative. Steel Fist Sake lasts as long as a Vengeance Slip, so if Amaterasu has both, use them both at once in fights (along with Veil of Mist) to inflict a huge amount of damage without fear of being hit.
- If Amaterasu has already obtained the String of Beads, then equip it, since even though it increases her damage output tenfold (normally making farming impossible due to her fatally-boosted damage output), it will Template:Tt her odds with the over-powered demons in the Trials. Also, since the trials are for constant farming, the String of Beads is essential for keeping Amaterasu's Floral Finishers, Thief's Glove strikes, etc. flowing. Furthermore, since the demons in the trials can deal massive damage, using the String of Beads would at least keep Amaterasu's battle ranking in Damage at constant S-rank (bloomed sakura tree).
- However, the true benefit of the String of Beads' usage in the trials is that since the demons are overly powerful, then damage being increased tenfold would still ensure safe farming, while granting Amaterasu infinite ink (to keep the farming flowing) and Solar Energy.
Ryoshima Coast Devil gate trial | ||
| Template:Color | Template:Color | Template:Color |
|---|---|---|
| 1. | Green Imp x10 Red Imp x6 |
Template:Yen3,960 - 7,920 |
| Template:Color | Template:Color | Template:Color |
| 3. | Dead Fish x3 Red Imp x8 |
Template:Yen3,410 - 6,820 |
| Template:Color | Template:Color | Template:Color |
| 5. | Blue Imp x3 Red Imp x8 |
Template:Yen4,010 - 8,020 |
| Template:Color | Template:Color | Template:Color |
| 7. | Blue Imp x6 Chimera x3 |
Template:Yen5,190 - 10,380 |
| Template:Color | Template:Color | Template:Color |
| 9. | Fire Eye x3 Ice Mouth x3 |
Template:Yen8,160 - 16,320 |
| Template:Color | Template:Color | Template:Color |
| Grand Total: | Template:Yen52,400 - 104,800 (Additional Reward: Golden Peach and Stray Bead #44) | |
North Ryoshima Coast Devil gate trial | ||
| Template:Color | Template:Color | Template:Color |
| 1. | Bell Guardian x5 Headless Guardian x12 |
Template:Yen14,120 - 28,240 |
| Template:Color | Template:Color | Template:Color |
| 3. | Headless Guardian x9 Ubume x3 |
Template:Yen10,320 - 20,640 |
| Template:Color | Template:Color | Template:Color |
| 5. | Ice Doom Mirror x3 Wind Doom Mirror x3 |
Template:Yen11,160 - 22,320 |
| Template:Color | Template:Color | Template:Color |
| 7. | Poltergeist x6 | Template:Yen15,660 - 31,320 |
| Template:Color | Template:Color | Template:Color |
| 9. | Tube Fox x12 | Template:Yen31,320 - 62,640 |
| Template:Color | Template:Color | Template:Color |
| Grand Total: | Template:Yen151,860 - 303,720 (Additional Reward: Golden Peach and Stray Bead #65) | |
Kamui Devil gate trial | ||
| Template:Color | Template:Color | Template:Color |
| 1. | Blade Namahage x12 Umbrella Namahage x9 |
Template:Yen41,310 - 101,480 |
| Template:Color | Template:Color | Template:Color |
| 3. | Bull Charger x5 | Template:Yen35,550 - 71,100 |
| Template:Color | Template:Color | Template:Color |
| 5. | Clay Drummer x2 Clay Shogun x8 |
Template:Yen91,100 - 182,200 |
| Template:Color | Template:Color | Template:Color |
| 7. | Great Tengu x5 | Template:Yen56,550 - 113,100 |
| Template:Color | Template:Color | Template:Color |
| 9. | Evil Rao x3 Waka x2 |
Template:Yen132,550 - 265,100 |
| Template:Color | Template:Color | Template:Color |
| Grand Total: | Template:Yen799,500 - 1,599,000 (Additional Reward: Golden Peach and Stray Bead #79) | |